Straw & clay slip
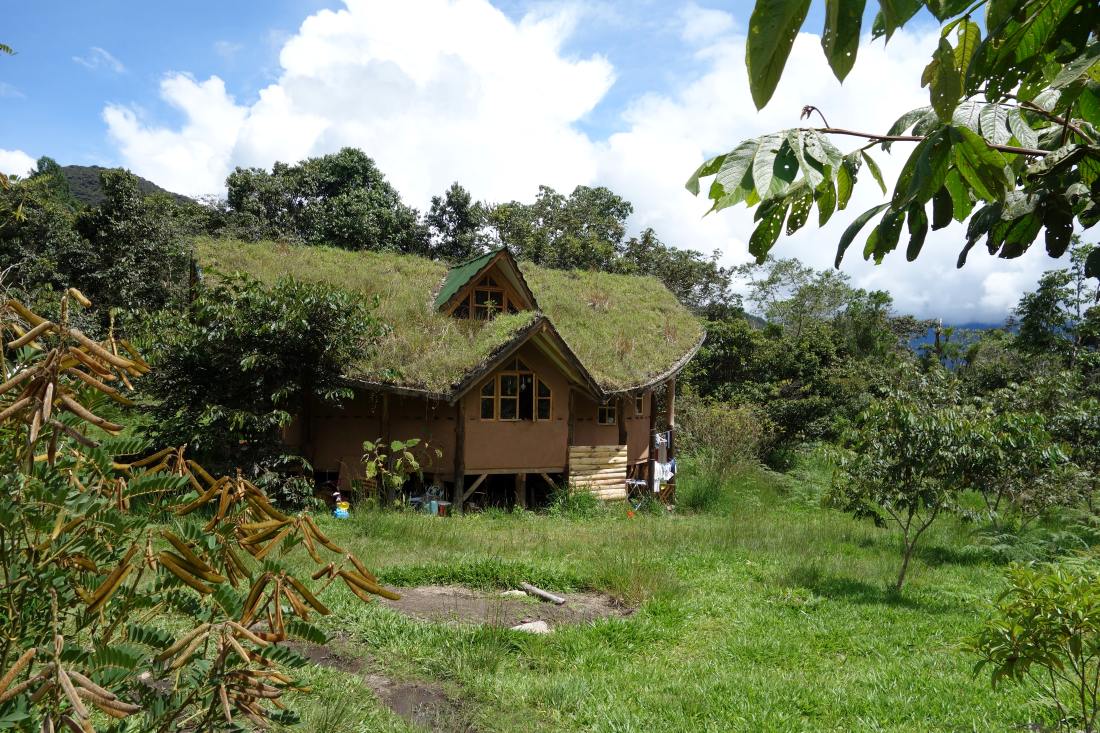
Light straw-clay does exactly what it says on the tin: loose straw coated in a thin clay slip, packed into the gaps between posts in a timber frame. It's been used for centuries in half-timbered buildings across Europe – and it works just as well in modern timber-frame construction.
What makes it interesting is how tuneable it is. Use less clay slip and you get better insulation. Use more and you add thermal mass – the wall stores heat and releases it slowly.
Why straw-clay?
Natural Insulation
Straw does the heavy lifting – decent thermal performance without polystyrene or mineral wool in sight.
Fully Adjustable
More straw means more insulation. More clay slip means more thermal mass. You decide what the project needs.
Breathable
The wall breathes on its own, handles moisture naturally and keeps indoor air comfortable.
Great for Retrofits
Especially good for filling timber frames and upgrading older buildings – it's what the technique was made for.
Local Materials
Straw from the farm down the road, clay from the region. Doesn't get much shorter than that.
DIY-Friendly
No special tools, no machinery – if you're happy getting your hands dirty, you can crack on.
What you need
Clay Slip
Clayey subsoil mixed with water until you get a thick, creamy consistency – that's your clay slip. How well it binds depends on the clay content of your soil. A quick field test will tell you whether your material is up to the job.
Straw
The main event. You toss the straw with the clay slip until every stem is evenly coated – not dripping, just nicely covered. Keep the wall thickness under 30 cm so it can dry properly from both sides.
Step by step
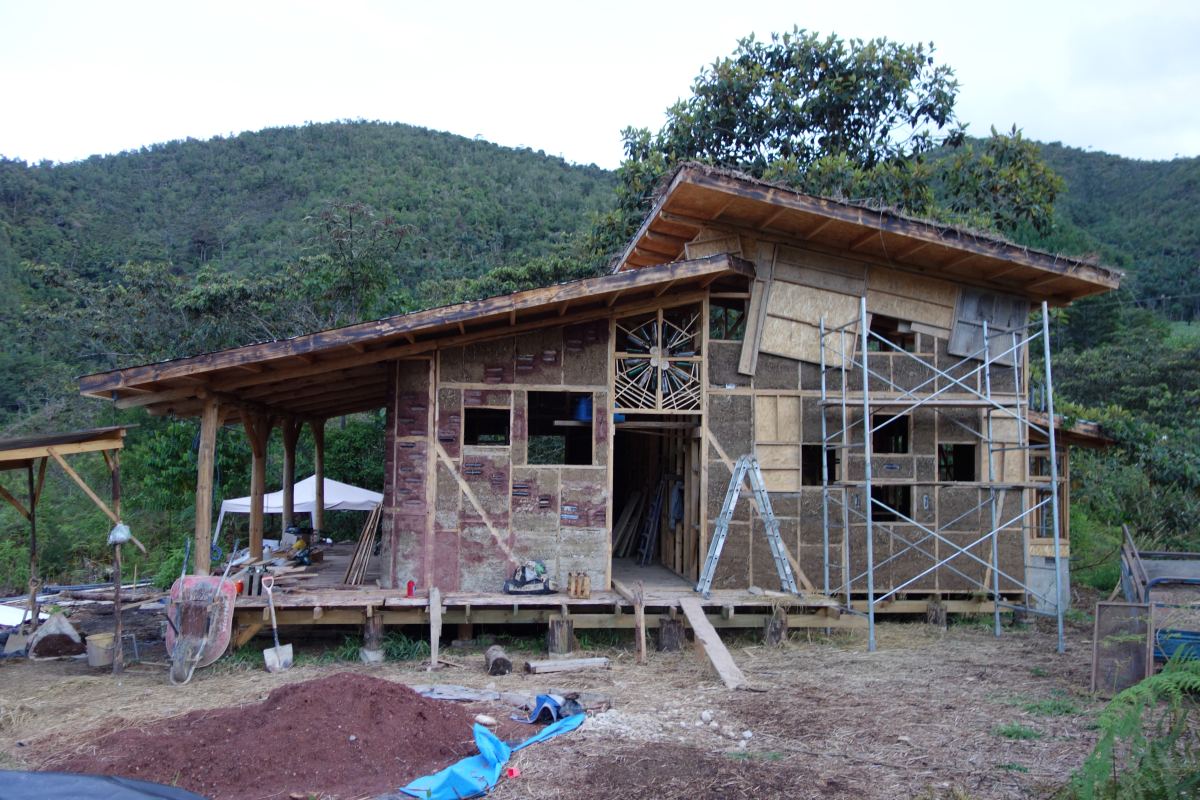
Timber Frame
Start with the load-bearing post-and-beam structure – that's your skeleton.
Formwork
Fix temporary shuttering on both sides to hold the mix in place while you pack it in.
Fill
Pack the straw-clay mix tightly into the cavities, layer by layer.
Remove Formwork
Take the shuttering off straight away – both sides need to be open for drying.
Dry
Now you wait. Depending on the climate and the time of year, this takes anything from a few weeks to several months.
Plaster
Once everything's properly dry, finish with a clay or lime plaster. Done.
Want to go deeper?
In the newsletter I regularly share practical knowledge, projects and tips on natural building and renovation.
Subscribe to newsletter →